 Level III
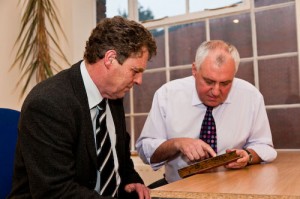
Our level III personnel carry out contracts for a wide range of small and large companies working to PCN, ASNT, ACCP and other accreditation schemes. Our client base spans the globe and covers industries, such as; pressure vessel manufacturers, energy; including petro-chemical and power generation, rail rolling stock and infra-structure, precision engineering and foundries.
The scope of Consultancy work we undertake involves;
Detailed below is a sample of the type of companies we provide a Consultancy service for;
- Preparation of QA documentation to incorporate non-destructive testing activities
- Auditing and cross-checking activities; ensuring processes and the application of various NDT techniques are in accordance with applicable specifications
- Provision of third party assistance for evaluation of NDT procedures and inspection
- Compilation of NDT procedures and techniques in accordance with a wide range of national and international codes, standards and specifications
- Provision of training and certification of NDT personnel in accordance with American Society of Non-Destructive Testing document SNT-TC-1A
Major International Engineering, Procurement, Construction, Maintenance (EPCM) and Project Management Services Organisation
UK and on-site on Changxin Island, Shanghai, China – contracted as independent consultant to investigate the reason(s) why transverse cracks had not been detected in welds during the fabrication phase of monopiles and transition pieces for large offshore wind farm project in UK.
Global Leader in Marine and Energy Market
On-site at Astano Shipyard, Ferrol, Spain – contracted as independent consultant to review and evaluate over 2000 radiographs of high pressure pipework welds in dispute between client and sub-contractor / Lloyds Register.
Major Oil and Gas Operating Company in UK Sector of the North Sea
On-site in Northern Italy – contracted to review and evaluate sub-contractors proposal for the Ultrasonic examination of cast valve bodies made from Duplex material.
Major UK Manufacturer of Large Generators for Gas and Steam Turbines
UK assignment – appointment as ASNT NDT Level III certified consultant for Channel Tunnel Shuttle Train project to advise on specialist NDT requirements.
Large French Construction Company
On-site assignment in Bordeaux, France – compilation of inspection procedures, UT, RT (x & gamma), MT, PT, VT, Dimensional and Weld Inspection, for Pickerill Field Development, North Sea.
Major UK Forging Company
Contracted on-site in Sheffield, UK for Japanese client – independent witness, inspection and documentation review of aero engine turbine discs. UT immersion testing, mechanical testing and acid etch testing.


 Level III
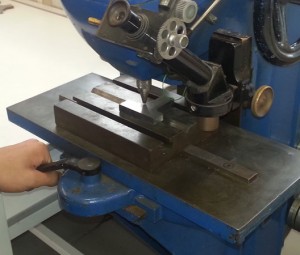 This can be carried out either in the laboratory or on site using portable equipment.
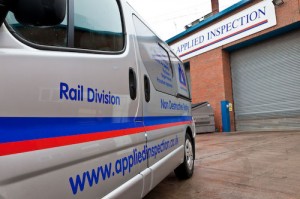
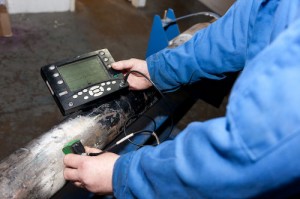 Applied Inspection is recognised throughout the UK and Europe as being at the forefront of testing on rail axles in accordance with Railway Group Standards. The testing we carry out is currently undertaken for companies at the manufacturing stage as well as insitu at the rail depot. We are also involved with routine maintenance schedules for a number of rail companies.
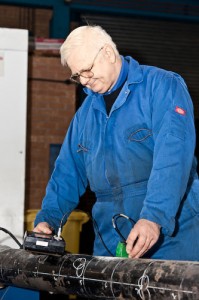 Our dedicated rail division offers a comprehensive range of services carried out by highly qualified and experienced personnel who are all PTS and Safety Critical approved.

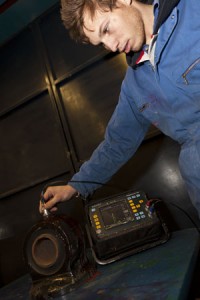 Have you considered out-sourcing your non destructive testing?
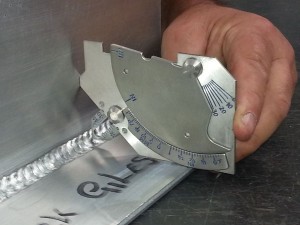 Also known as Visual Inspection, Visual Testing is the one NDT method used extensively to evaluate the condition or the quality of a weld or component. It is easily carried out, inexpensive and usually doesn’t require special equipment.
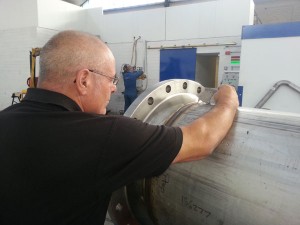 This method of testing requires good vision, good lighting and the expertise to recognize flaws and process problems. Visual inspection can be enhanced by a variety of methods ranging from low power magnifying glasses through to boroscopes. These devices can also be used with television camera systems. Surface preparation can range from wiping with a cloth to blast cleaning and treating with chemicals to show the surface details.
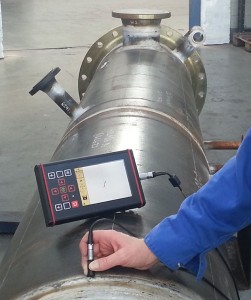 This technique is used to detect surface and near surface defects on relatively small areas; without the need to remove surface paint prior to testing. The equipment is light and compact and provides immediate feedback, making it ideally suited for inspecting on site.
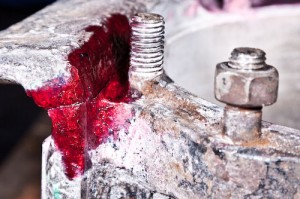 We offer Dye Penetrant Testing on site or in one of our laboratories using either fluorescent or colour contrast applications as a one off test or batches of machined parts. This type of testing is commonly used on welds, machined parts, castings and forgings.
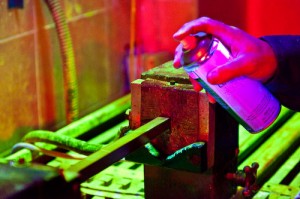 Applied Inspection offers a cost effective MPI service to a wide range of industries at highly competitive rates.